
No Bake Oreo Cheesecake: 7 Hacks for a Quick Dessert Fix
Introduction
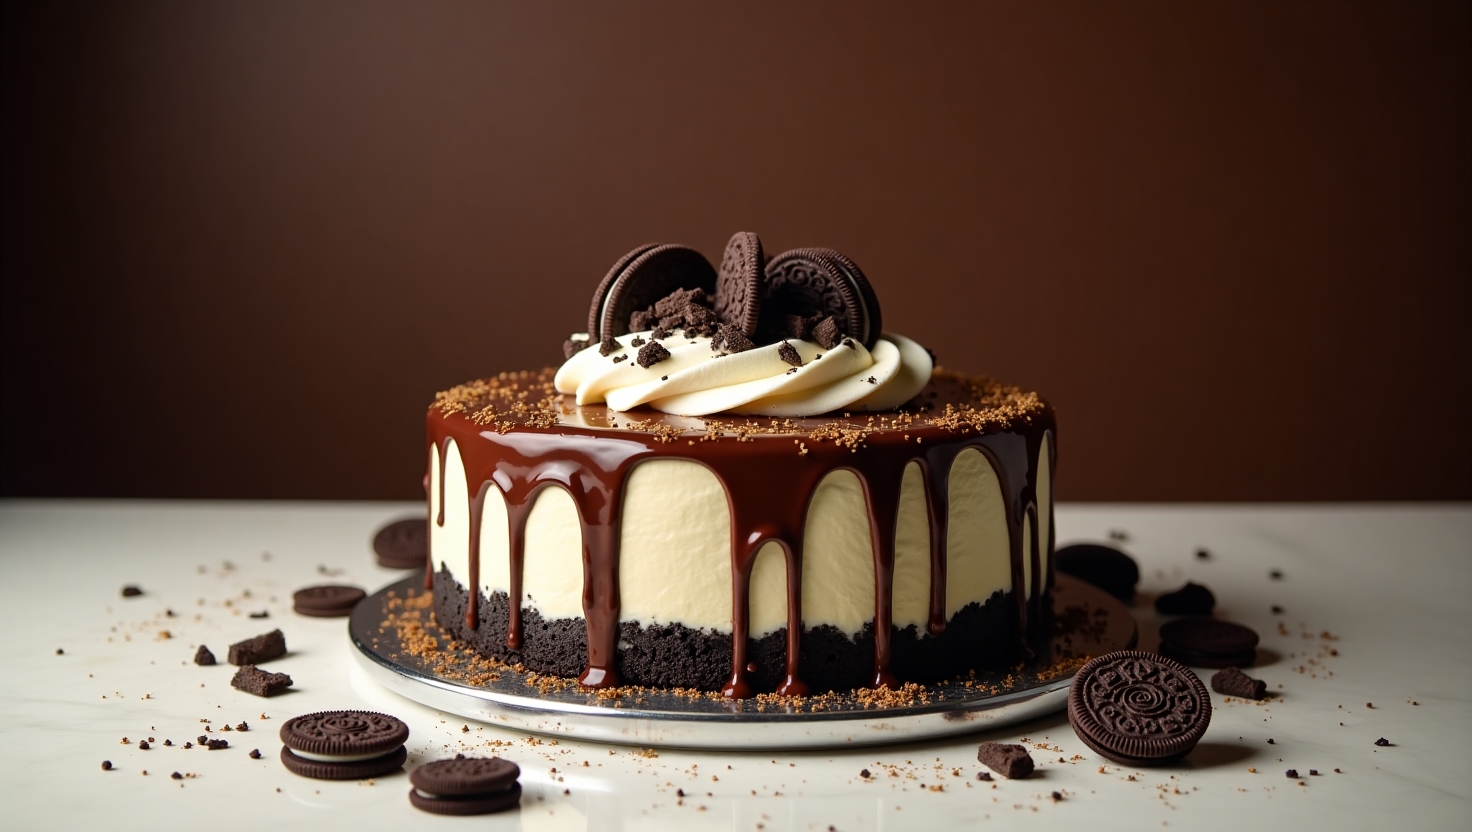
Creamy. Dreamy. Decadent. That’s what you’re getting with this no bake Oreo cheesecake—a dessert so sinfully good, it feels like you’re cheating, but you’re not even turning on the oven. Imagine layers of crushed Oreos and velvety cream cheese filling, chilled to perfection and ready to satisfy your sweet tooth in record time. If you’ve ever craved dessert but didn’t want the heat (or the hassle), this one’s your new best friend.
Here’s a fun fact: the Oreo was first introduced over 110 years ago, and we’ve been dunking and dreaming ever since. But who knew it would become the star of a no-bake dessert that feels like it came straight from a fancy bakery?
This cheesecake is special because it checks all the boxes—quick, easy, budget-friendly, and an absolute crowd-pleaser. Whether you’re a kitchen newbie or a seasoned pro, this dessert delivers big flavor with minimal effort. Kids love it, adults swoon over it, and the prep takes less than 20 minutes. It’s a lazy baker’s fantasy turned reality.
If you enjoyed our No Bake Strawberry Delight, this recipe brings the same level of fuss-free fabulousness—with a chocolatey twist. So, grab your favorite apron and let’s dive into the magic that is no bake Oreo cheesecake. Trust us—your tastebuds will thank you. no bake oreo cheesecake
What is No Bake Oreo Cheesecake?
Let’s be real—cheesecake without baking sounds like wizardry, doesn’t it? Who decided that we could ditch the oven and still create a slice of creamy, Oreo-packed bliss? Whoever you are, we owe you a batch of thanks (and maybe a slice).
No bake Oreo cheesecake is exactly what it sounds like: a creamy cheesecake made with Oreo cookies that sets in the fridge instead of the oven. No cracking, no water baths, no drama. It’s like your favorite dessert just put on a pair of sweatpants and said, “Let’s chill.”
Why is it called that? Because it skips the heat, but not the heart. And we all know, the way to a man’s heart is through his stomach—especially if there are Oreos involved. So go ahead, try it. You might just fall in love. 💕
Why You’ll Love This No Bake Oreo Cheesecake
Let’s count the ways this dessert wins hearts:
1. It’s Creamy, Dreamy, and Crave-Worthy
The biggest highlight? That ultra-smooth, cream cheese filling with chunks of Oreo throughout. Each bite is a delightful mix of rich, tangy, and sweet with a satisfying cookie crunch. It’s like cookies and cream ice cream, but fancier—and sliceable!
2. It’s a Budget-Friendly Dessert Fix
Skip the overpriced bakery and make this at home for a fraction of the cost. Most ingredients are pantry staples, and you only need one pack of Oreos to make both the crust and the filling. Smart, right?
3. It’s Full of Fun Flavors
The classic Oreo flavor pairs perfectly with whipped topping and cream cheese. Want to level up? Add a drizzle of chocolate syrup, extra crushed cookies, or even a peanut butter swirl. You could even try our No Bake Nutella Cheesecake next for a rich hazelnut twist.
No bake Oreo cheesecake is a guaranteed hit, whether it’s a birthday, BBQ, or a Tuesday night. Try it today, and don’t forget to share your masterpiece with us in the comments!
How to Make No Bake Oreo Cheesecake
Quick Overview
This dessert is dangerously easy to make and even easier to devour. The crust comes together with crushed Oreos and butter, while the filling is a fluffy mix of cream cheese, sugar, and whipped topping. With just 20 minutes of prep and a few hours of chilling, you’re ready to dig in!
Key Ingredients for No Bake Oreo Cheesecake
| Ingredient | Quantity | Notes |
| Oreo cookies (regular) | 28–30 cookies | About 1 standard 14 oz pack |
| Unsalted butter | 5 tbsp (70g) | Melted |
| Cream cheese (full-fat) | 16 oz (450g) | Room temperature for easy mixing |
| Granulated sugar | ½ cup (100g) | |
| Vanilla extract | 1 tsp | Optional, but adds depth |
| Whipped topping (e.g., Cool Whip) | 2 cups (240g) | Or use homemade whipped cream |
| Extra Oreos (for garnish) | 4–5 cookies | Crushed or halved for topping |
Step-by-Step Instructions
Step 1: Make the Oreo Crust
- Crush 24 Oreos in a food processor or place in a ziplock and smash with a rolling pin.
- Mix the crushed cookies with melted butter until it resembles wet sand.
- Press firmly into a 9-inch springform pan to form the crust.
- Chill in the refrigerator while you prepare the filling.
Step 2: Make the Creamy Filling
- In a large mixing bowl, beat the cream cheese until smooth.
- Add sugar and vanilla extract, and beat until fluffy.
- Fold in the whipped topping gently until fully combined.
- Chop 6 Oreos into chunks and fold them into the filling.
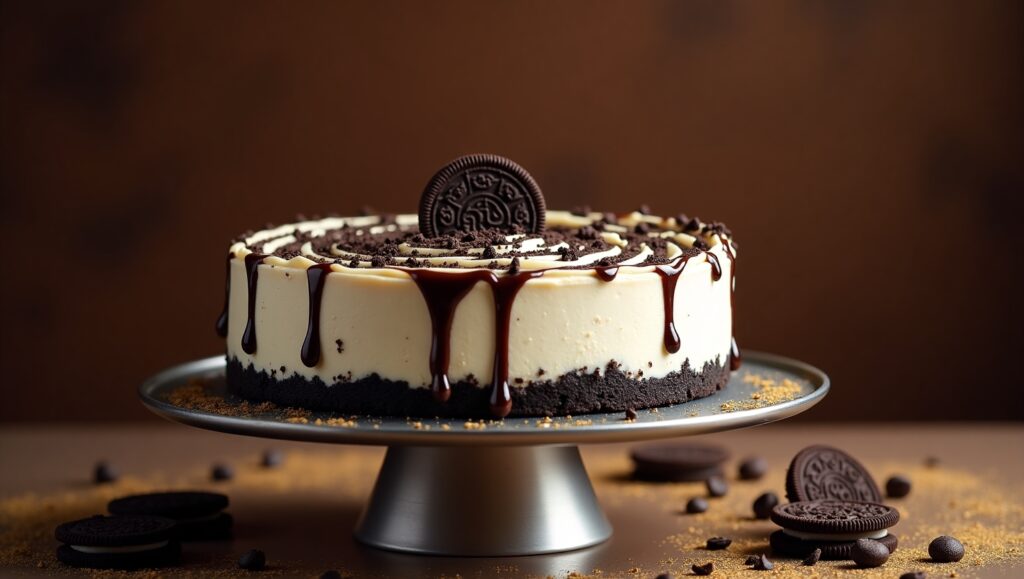
Step 3: Assemble and Chill
- Pour the filling into the crust and smooth the top with a spatula.
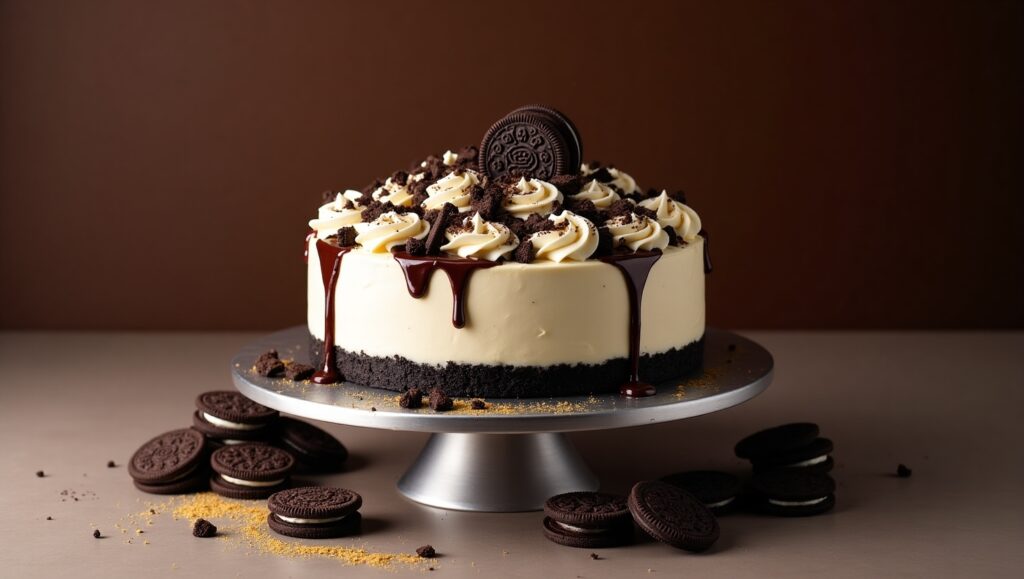
- Garnish with crushed or halved Oreos on top.
- Cover and refrigerate for at least 4 hours, or overnight for best results.
What to Serve No Bake Oreo Cheesecake With
Looking to elevate your dessert plate? Here are some great pairings:
- Fresh berries – The tartness balances the sweetness beautifully.
- Hot coffee or iced mocha – Chocolate and coffee are a match made in heaven.
- Mint leaves or whipped cream – Add a touch of green and fluff to impress guests.
- Vanilla ice cream – Because more dessert is always a good idea.
Planning a full meal? Pair this cheesecake with our One-Pan Garlic Butter Chicken for a crowd-pleasing dinner + dessert combo.
Top Tips for Perfecting No Bake Oreo Cheesecake
- Room temp cream cheese = smooth filling: Cold cream cheese will clump. Let it sit for 30–45 minutes first.
- Don’t overmix the whipped topping: Fold gently to keep the texture airy.
- Use a springform pan: It makes removal easier and the presentation picture-perfect.
- Freeze for firmer slices: Chill in the freezer for 1 hour before serving for extra clean cuts.
- Try flavored Oreos: Golden, peanut butter, or mint Oreos can add a fun twist!
Storing and Reheating Tips
No bake Oreo cheesecake stores like a dream:
- In the fridge: Keep covered in the refrigerator for up to 5 days. Use plastic wrap or an airtight container to prevent drying.
- In the freezer: Wrap tightly and freeze for up to 2 months. Thaw overnight in the fridge before serving.
- Avoid microwaving: This is a chilled dessert—serve it straight from the fridge or slightly thawed from the freezer for best texture.