
Lemon Bars with Glaze: 5 Steps to the Perfect Zesty Treat
Introduction
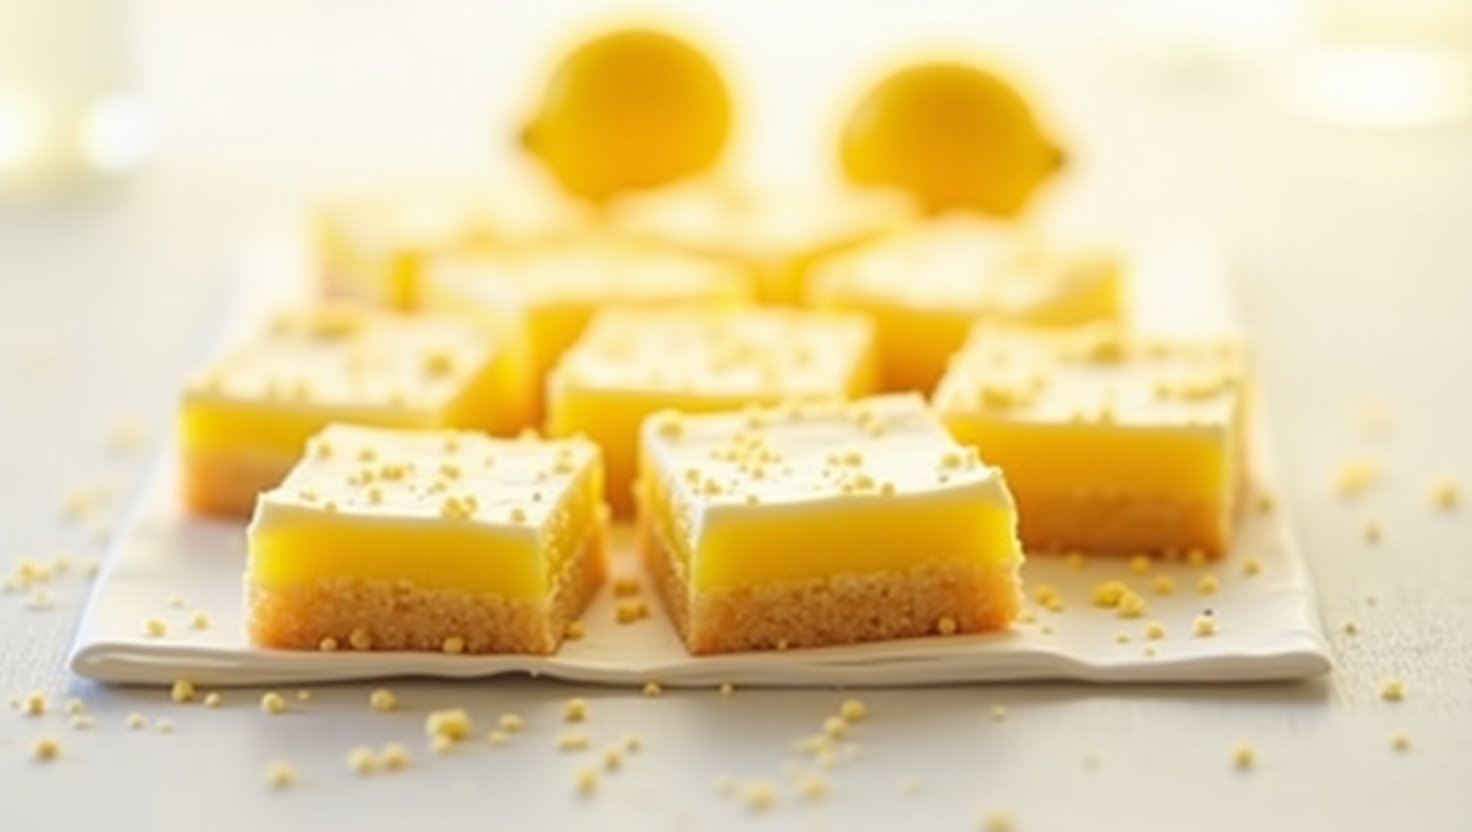
If you’re looking for a dessert that’s refreshingly tangy, irresistibly sweet, and perfectly balanced, then lemon bars with glaze might just become your new favorite treat! These delightful squares combine a crisp, buttery crust with a zesty lemon filling topped off with a glossy, sweet glaze that melts in your mouth. Whether you’re baking for a family gathering, a quick afternoon snack, or just because you love citrusy desserts, this recipe is simple, fast, and absolutely delicious.
Fun fact: Did you know lemon bars were actually popularized during the Great Depression as an affordable way to add a little sunshine to life? Today, they remain a classic crowd-pleaser, loved for their bright, fresh flavor and easy prep. If you’ve enjoyed our rich and creamy chocolate brownies or velvety vanilla cupcakes on this blog, you’ll find that these lemon bars bring a refreshing citrus twist to your dessert repertoire. lemon bars with glaze
Ready to brighten up your day with these luscious lemon bars with glaze? Let’s dive in and make this zesty treat that everyone will rave about!
What Are Lemon Bars with Glaze?
Why exactly are these called lemon bars with glaze? Have you ever wondered how a simple slice of dessert earned such a catchy name? Well, imagine a “bar” – not the kind you find at a pub, but a sweet, rectangular slice that’s portable, easy to serve, and perfect for any occasion. And the “lemon” part? That’s all about the tart and tangy flavor that wakes up your taste buds! Add a shiny glaze on top, and you get that extra layer of sweetness and beauty.
Legend has it that these lemon bars got their name because “the way to a man’s heart is through his stomach,” and nothing says love like a bite of tangy, buttery goodness topped with a sugary glaze. So, why not surprise your loved ones with these irresistible bars? Dive into this recipe and treat yourself to a citrusy delight!
Why You’ll Love These Lemon Bars with Glaze
What makes these lemon bars with glaze stand out? First off, the balance of tangy lemon filling and buttery crust is unbeatable. The zesty lemon flavor is bright and fresh, and the buttery crust adds a satisfying crunch that contrasts perfectly with the smooth filling. Plus, the sweet glaze on top adds just the right touch of indulgence without overpowering the tartness.
Another bonus? Making lemon bars at home is super cost-effective. Compared to store-bought versions or fancy bakery treats, this recipe uses simple pantry staples, saving you money while delivering fresh flavor. And the toppings? The glaze is a game-changer, adding that classic shiny finish and extra sweetness that makes these bars stand out from plain lemon squares.
If you love the taste of citrus, you might also enjoy our recipe for orange cranberry muffins. Both recipes highlight the magic of fresh fruit in baking — so give these lemon bars a try and keep exploring for more zesty treats!
How to Make Lemon Bars with Glaze
Quick Overview
These lemon bars with glaze are not only tasty but incredibly easy to make. With just a few ingredients and five simple steps, you’ll have a delicious dessert ready in under an hour. The crust is buttery and crisp, the lemon filling is creamy and tart, and the glaze adds that perfect finishing touch. This recipe is ideal for beginners and seasoned bakers alike!
Key Ingredients for Lemon Bars with Glaze
| Ingredient | Quantity | Notes |
| All-purpose flour | 1 1/2 cups (180g) | For the crust |
| Powdered sugar | 1/2 cup (60g) | For crust and glaze |
| Unsalted butter | 3/4 cup (170g) | Cold, for crust |
| Granulated sugar | 1 1/4 cups (250g) | For lemon filling |
| Fresh lemon juice | 2/3 cup (160ml) | Freshly squeezed |
| Lemon zest | 1 tbsp (6g) | Adds extra lemon flavor |
| Large eggs | 3 | Room temperature |
| Cornstarch | 2 tbsp (16g) | For thickening filling |
| Vanilla extract | 1 tsp (5ml) | For glaze |
| Milk | 1-2 tbsp (15-30ml) | For glaze |
Step-by-Step Instructions
Step 1: Prepare the crust
Preheat your oven to 350°F (175°C). In a mixing bowl, combine the flour and powdered sugar. Cut the cold unsalted butter into small pieces and add it to the flour mixture. Use a pastry cutter or your fingers to blend until the mixture resembles coarse crumbs. Press this mixture evenly into the bottom of a greased 9×9-inch baking pan. Bake for 15-18 minutes until golden brown. Remove and let cool.
Step 2: Make the lemon filling
While the crust bakes, whisk together granulated sugar, lemon juice, lemon zest, eggs, and cornstarch in a bowl until smooth. The cornstarch helps thicken the filling perfectly.
Step 3: Bake the filling
Pour the lemon filling over the cooled crust and bake for an additional 20 minutes or until the filling is set and slightly firm to the touch.
Step 4: Prepare the glaze
While the bars cool, mix powdered sugar, vanilla extract, and milk in a small bowl until smooth and glossy. Adjust the milk quantity to achieve your desired glaze consistency.
Step 5: Glaze and chill
Drizzle or spread the glaze evenly over the cooled lemon bars. Chill in the refrigerator for at least 1 hour before slicing into squares. Enjoy!
What to Serve with Lemon Bars with Glaze
Lemon bars with glaze shine on their own, but pairing them with the right treats can make your dessert table unforgettable! Serve alongside:
- Fresh berries like raspberries or strawberries for a vibrant contrast.
- A scoop of vanilla ice cream for creamy indulgence.
- A light, herbal tea such as chamomile or mint to complement the citrus notes.
- For a brunch spread, pair with savory quiches or a fresh garden salad.
These pairings help balance flavors and textures, making your lemon bars the star of any gathering.
Top Tips for Perfecting Lemon Bars with Glaze
- Use fresh lemons: The brightness of fresh lemon juice and zest makes a huge difference in flavor. Bottled lemon juice just won’t have the same punch.
- Don’t overbake: Keep an eye on the filling—it should be set but still slightly jiggly in the middle. It firms up as it cools.
- Cold butter for the crust: Using cold butter ensures a flaky, crumbly crust instead of a greasy, dense base.
- Adjust glaze consistency: If your glaze is too thick, add a teaspoon of milk at a time. Too thin? Add more powdered sugar.
- Chill before slicing: This makes clean cuts easier and the bars neater.
Storing and Reheating Tips
Lemon bars with glaze are best enjoyed fresh but can be stored for up to 3 days in an airtight container in the refrigerator. For longer storage, freeze them by wrapping tightly in plastic wrap and placing in a freezer bag—freeze for up to 2 months. To thaw, leave them in the fridge overnight.
Reheat chilled lemon bars briefly in the microwave (about 10 seconds) for a soft, just-baked feel, or enjoy them cold for a refreshing zing.